Up Your Game From Gourd to Great
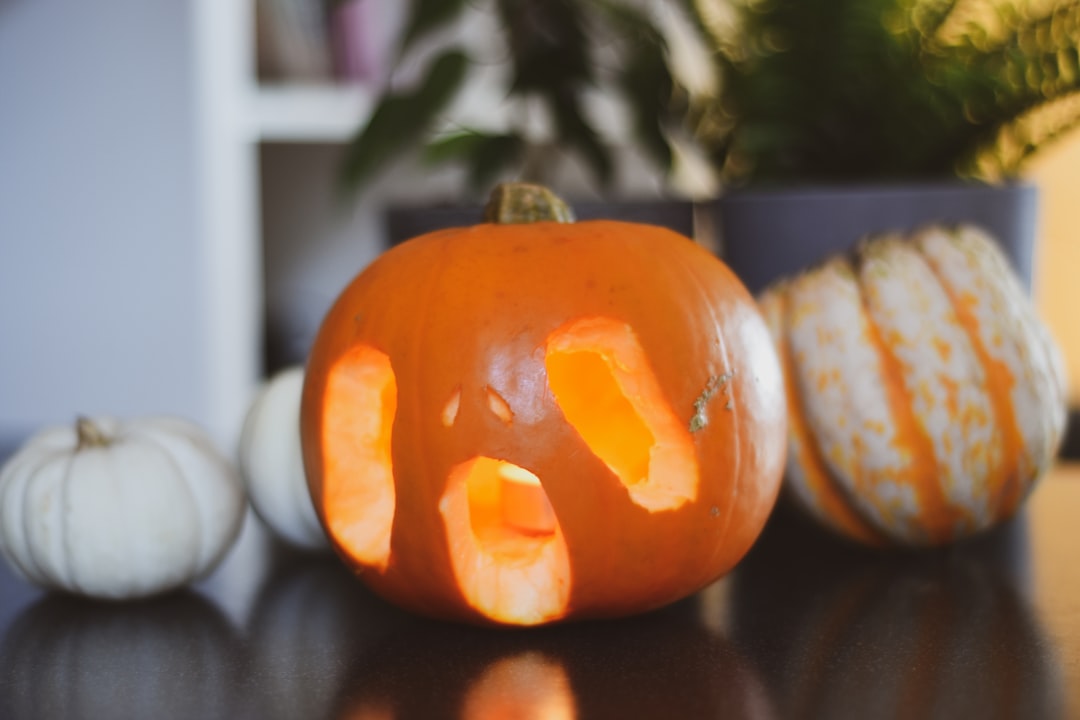
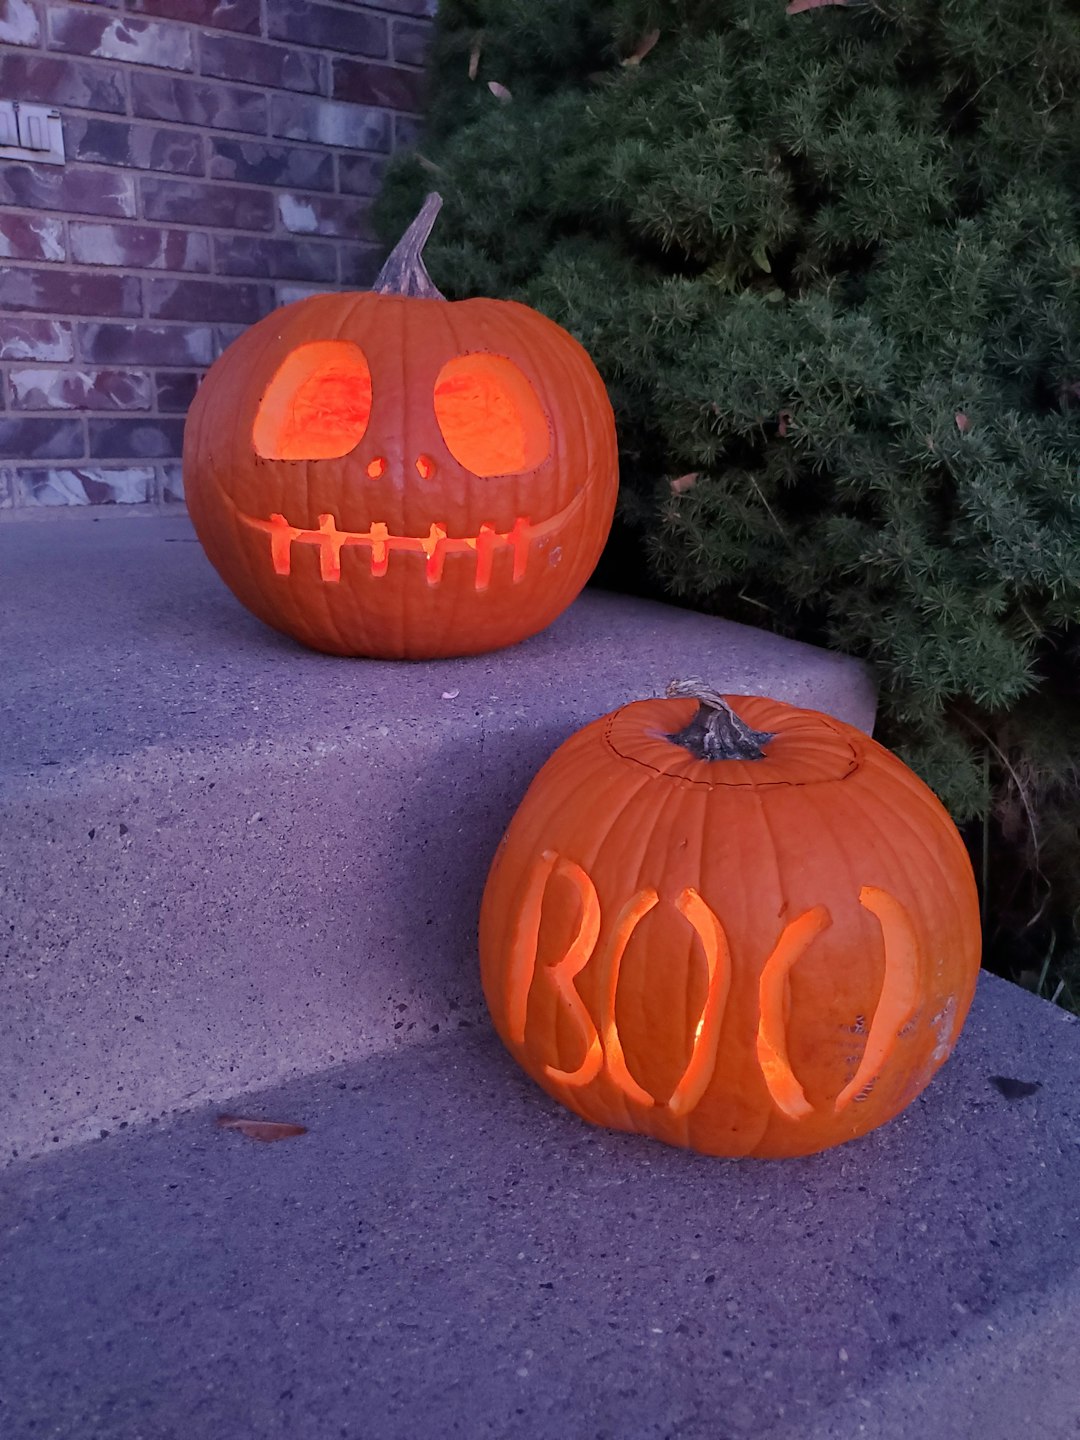
The days are shorter, candy’s more expensive, and there’s a bitter chill to the air—that’s right, it’s spooky season! Among the candy apples and movie marathons comes everyone’s favorite tradition…even with all those stringy bits. This year, make life a little easier with twenty simple pumpkin carving hacks.
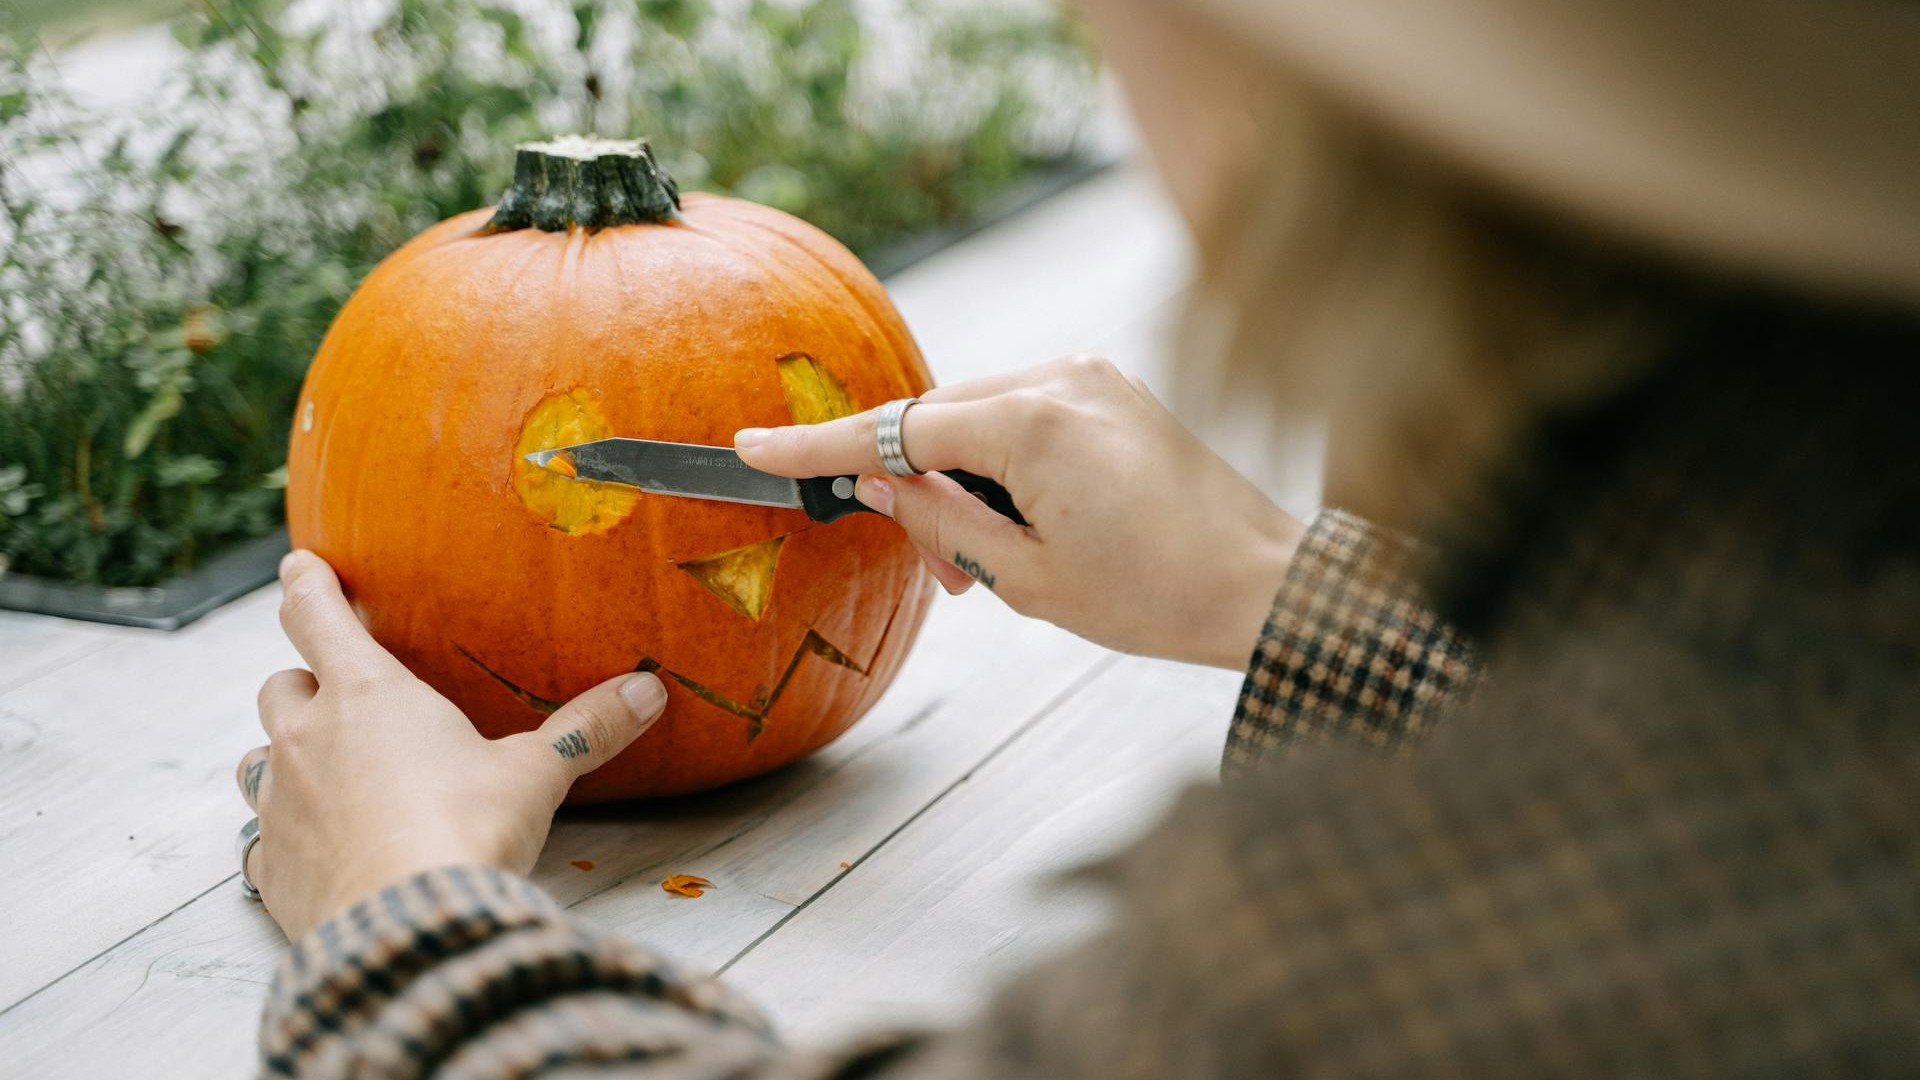 Photo by Ivan Samkov on Pexels
1. Size Matters
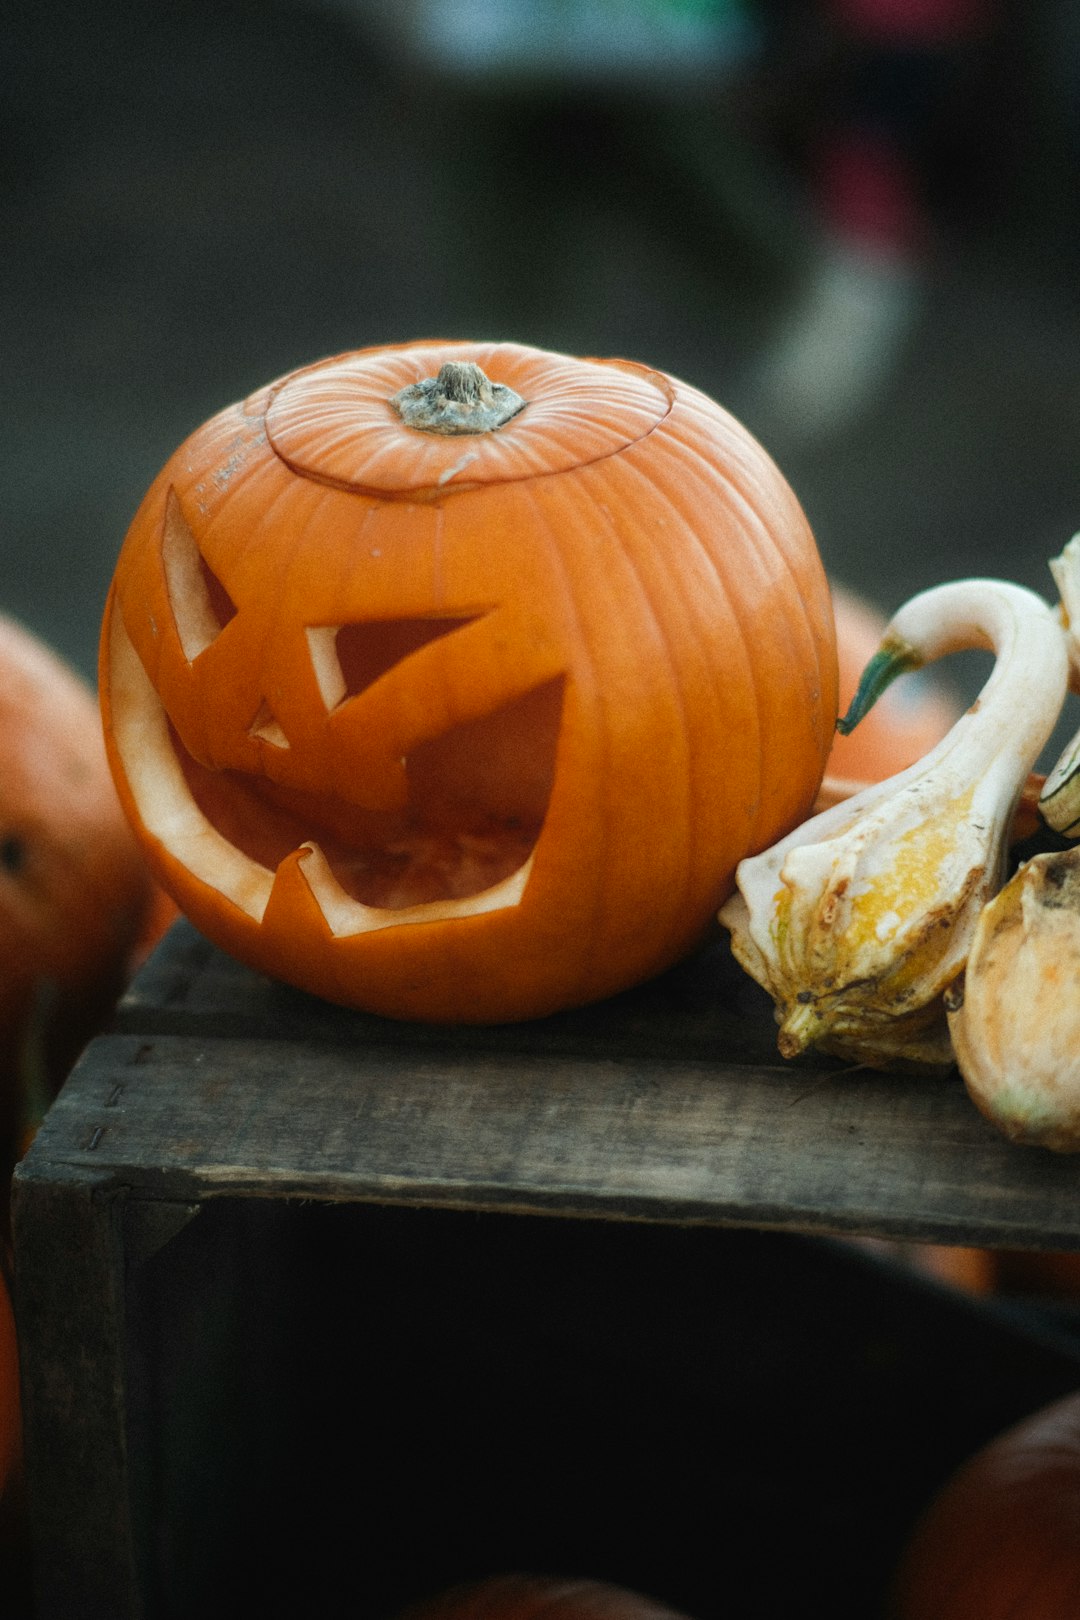
A lot goes into choosing the right pumpkin—everything from its shape, size, and ripeness ensures you get the best carve for your buck. Some designs require specific shapes too, so have an idea in mind before heading to the patch.
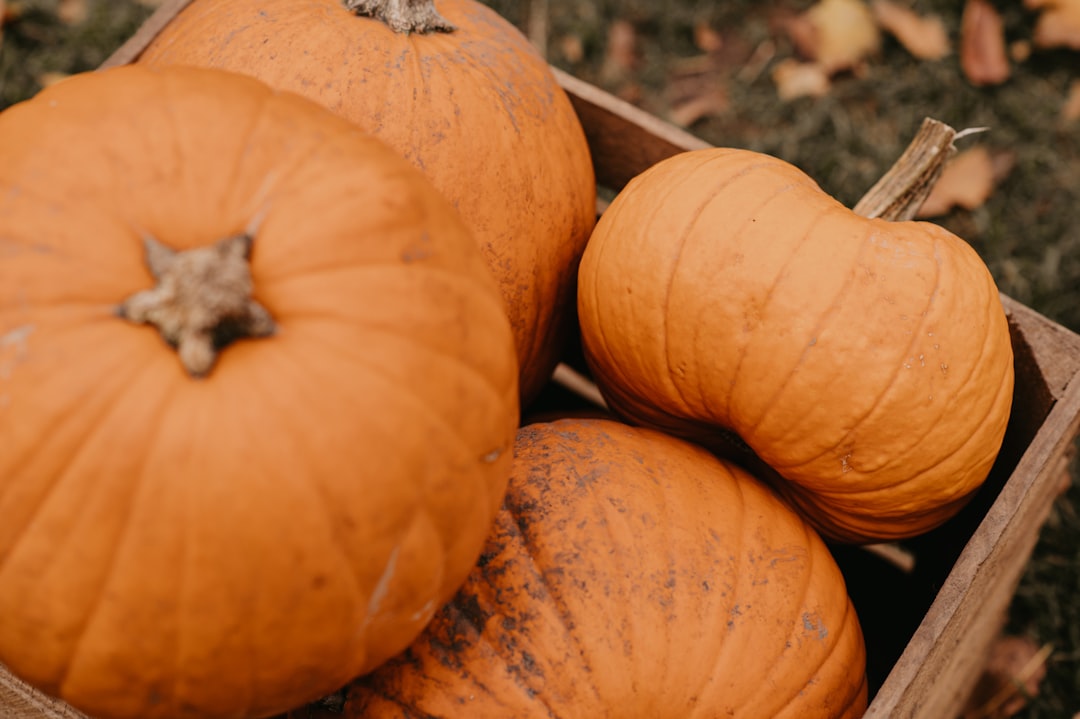 Anastasiia Chepinska on Unsplash
2. Carve in Well-Lit Spaces
You’d think this was a no-brainer but some artists like to set the mood with Halloween ambiance. Maybe reserve the string lights for movie night because carving requires special care, especially if little ones are afoot.
3. Sketch Your Design
Not everyone is artistic on the fly! There’s no shame in sketching out a design before the pumpkin gets it. Dry-erase markers work wonders for stenciling—they’re easy to follow and just as easy to remove.
4. Protect Your Table
Don’t assume your everyday tablecloth is up for the job. Rather than ruin that autumnal pattern, opt for a plastic one instead. You can also lay down newspaper to keep scratches off your finish.
5. Cut the Bottom
We’ve sawed the top off our pumpkins for years, but that’s not exactly efficient. Carve a hole in the bottom if you’re planning to stuff a candle inside. Don’t worry, your pumpkin can still hold its own—it’s just way easier to light it.
6. Don’t Opt for the “Sharpest”
The sharpest tool in the shed doesn’t grab the sharpest knife in the drawer. Though it seems like a good idea, those dangerous blades actually get stuck in your pumpkin, which not only ruins the design but also risks injury.
7. Scoop it Out
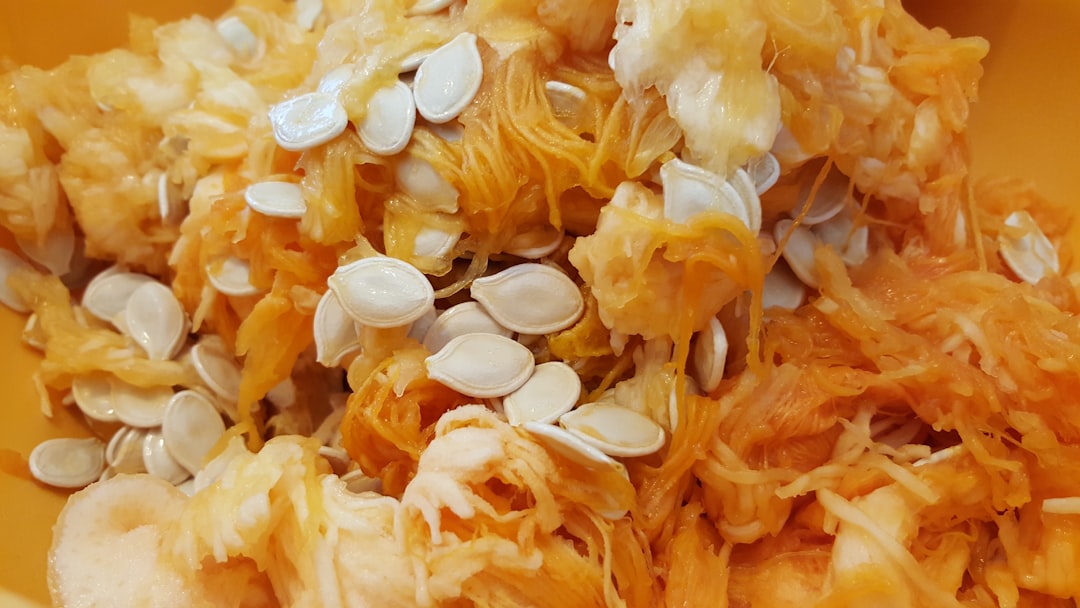
No one enjoys being wrist-deep in stringy bits. But that slop has to come out somehow—and that’s where your ice cream scooper comes in. You’ll rid yourself of the insides and those sharpened edges help scrape off the pulp.
8. Use a Hand Mixer
Boy, our baking tools are really taking a beating (pun intended). As useful as scoopers are, hand mixers get into the nitty-gritty of pumpkin cleaning. They’re perfect for collecting any annoying strings and also do it in a hurry.
9. Try Thumbtacks
If you don’t have markers floating around, opt for trusty thumbtacks. It’s a precision tool for intricate stenciling, allowing you to hone in on letters or fine details. Poke holes along your stencil and lightly dust your handiwork with baby powder so it’s easy to see!
 Photo by SHVETS production on Pexels
10. Cookie Cutters Make Great Stencils
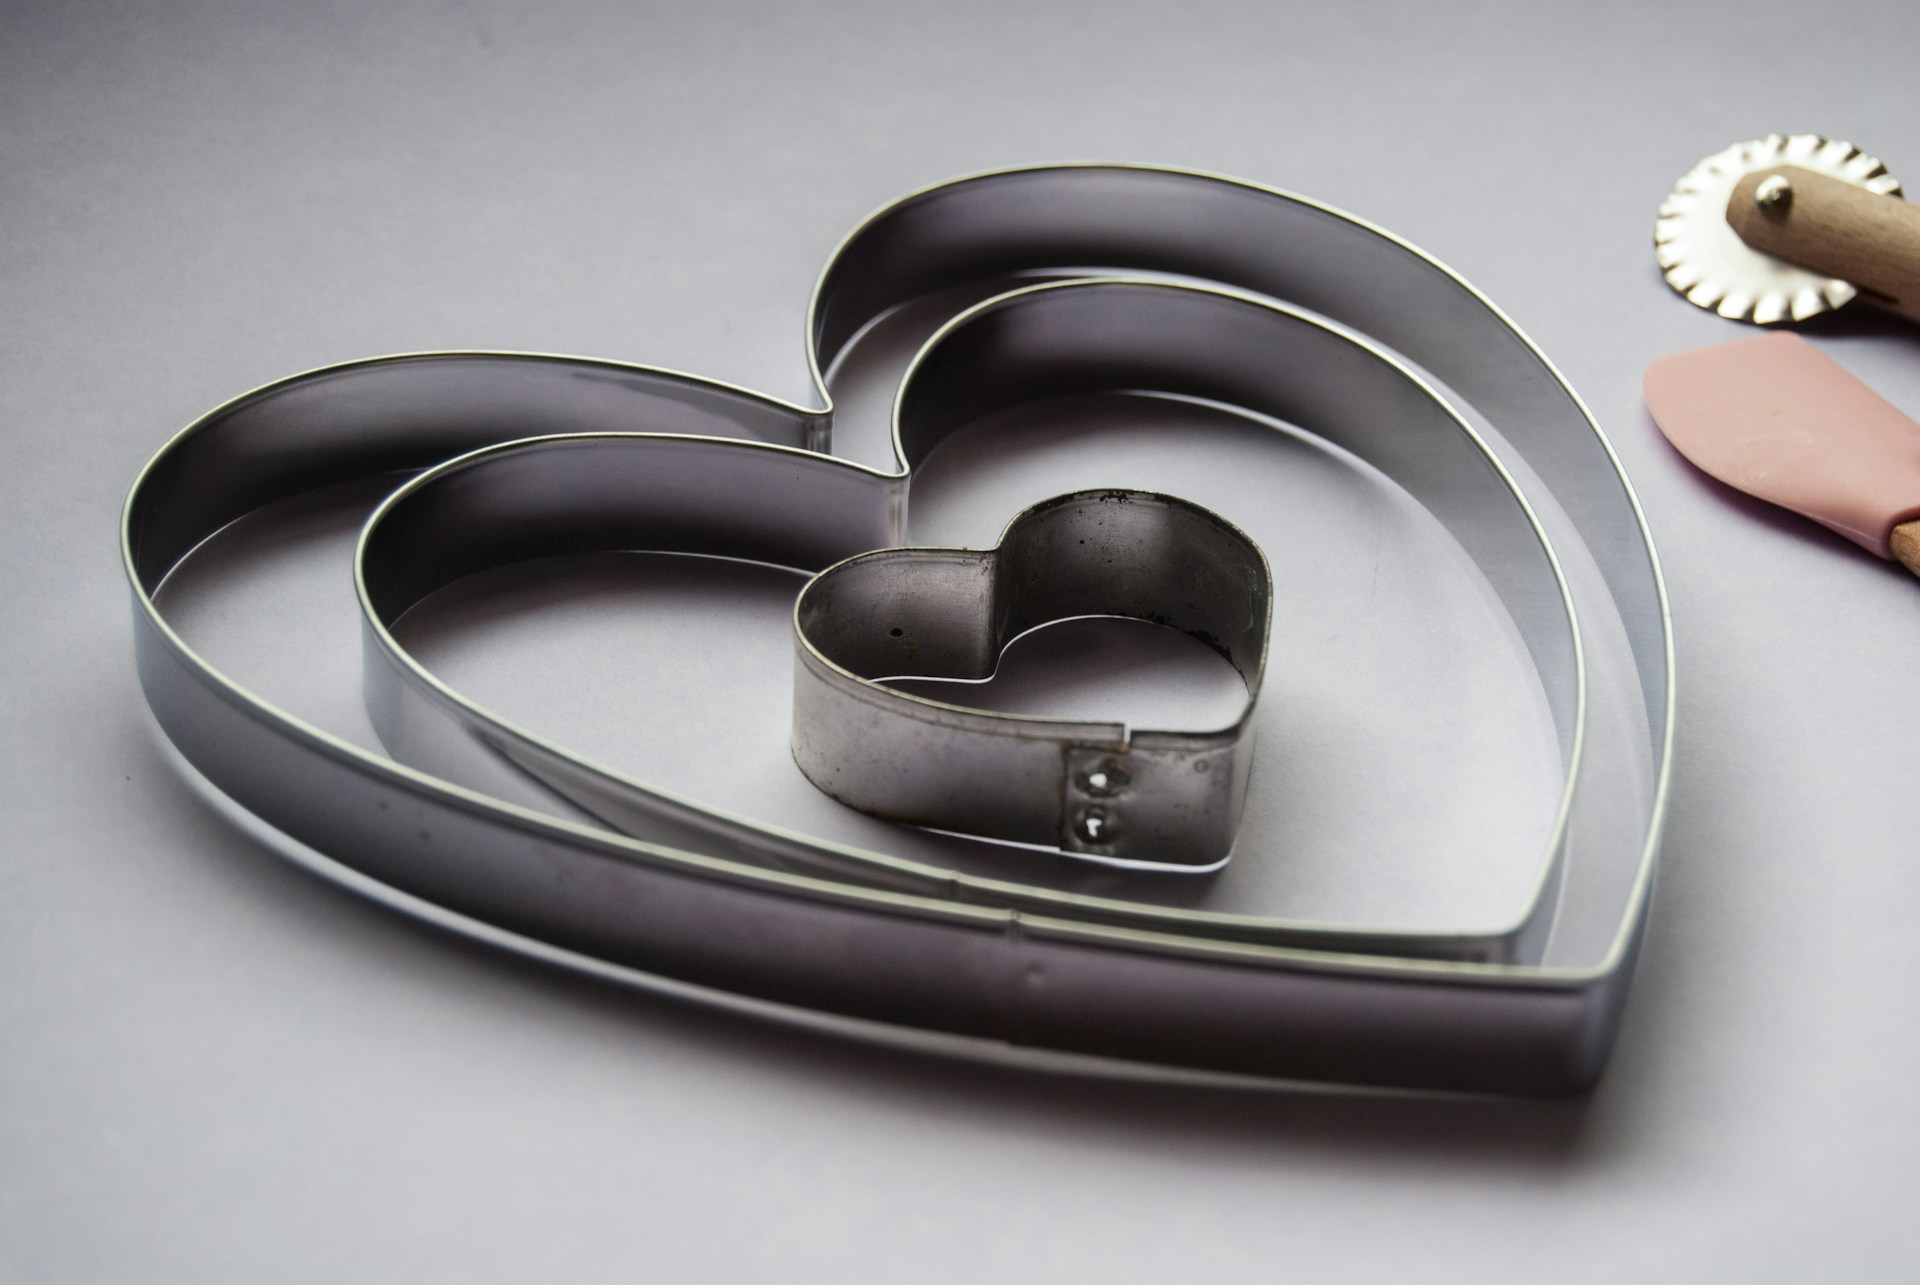
If you think about it, cookie cutters are practically free stencils. They’re perfect for simple seasonal shapes and you only need a rubber mallet to gently tap them through your pumpkin.
11. Break Out the Power Tools
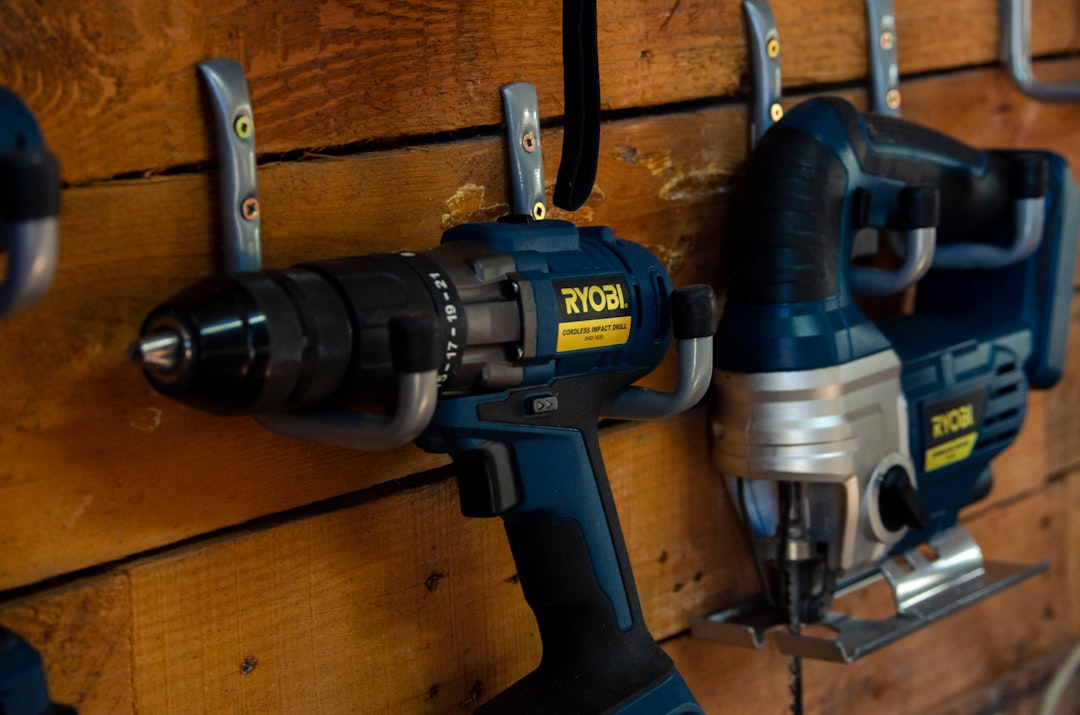
We all have someone in the house just itching to use their power drill! Well, they can officially add another use to their list because drills are good precision tools. From polka-dotted pumpkins to simple ghosts, don’t keep yours locked in the toolbox.
12. Cut the Top on an Angle
Every year, millions of Americans struggle to secure the top back onto their pumpkins. (Okay, those numbers are exaggerated but it is a real problem). Sidestep the headache this year and cut the top on an angle to prevent it from falling back inside.
13. Get That Cinnamon
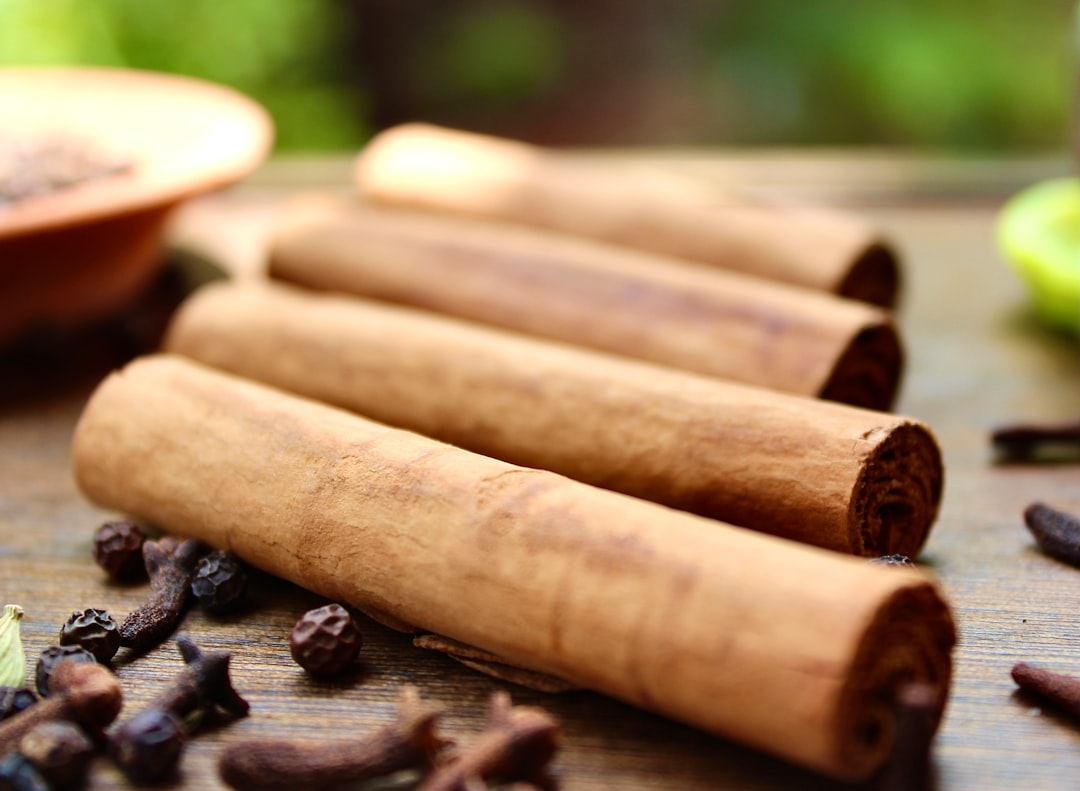
Pumpkins deserve to smell as good as they look. A light sprinkle of cinnamon captures the season! You can add a tiny amount to the carved lid but be sure to dab any loose powder before lighting a candle.
14. Preserve Pumpkins
Local wildlife spots your pumpkin a mile away—and it makes a fine meal without proper protection. A solution of water and bleach not only wards off mold but also redirects critters to other porches.
15. Consider Glow Sticks
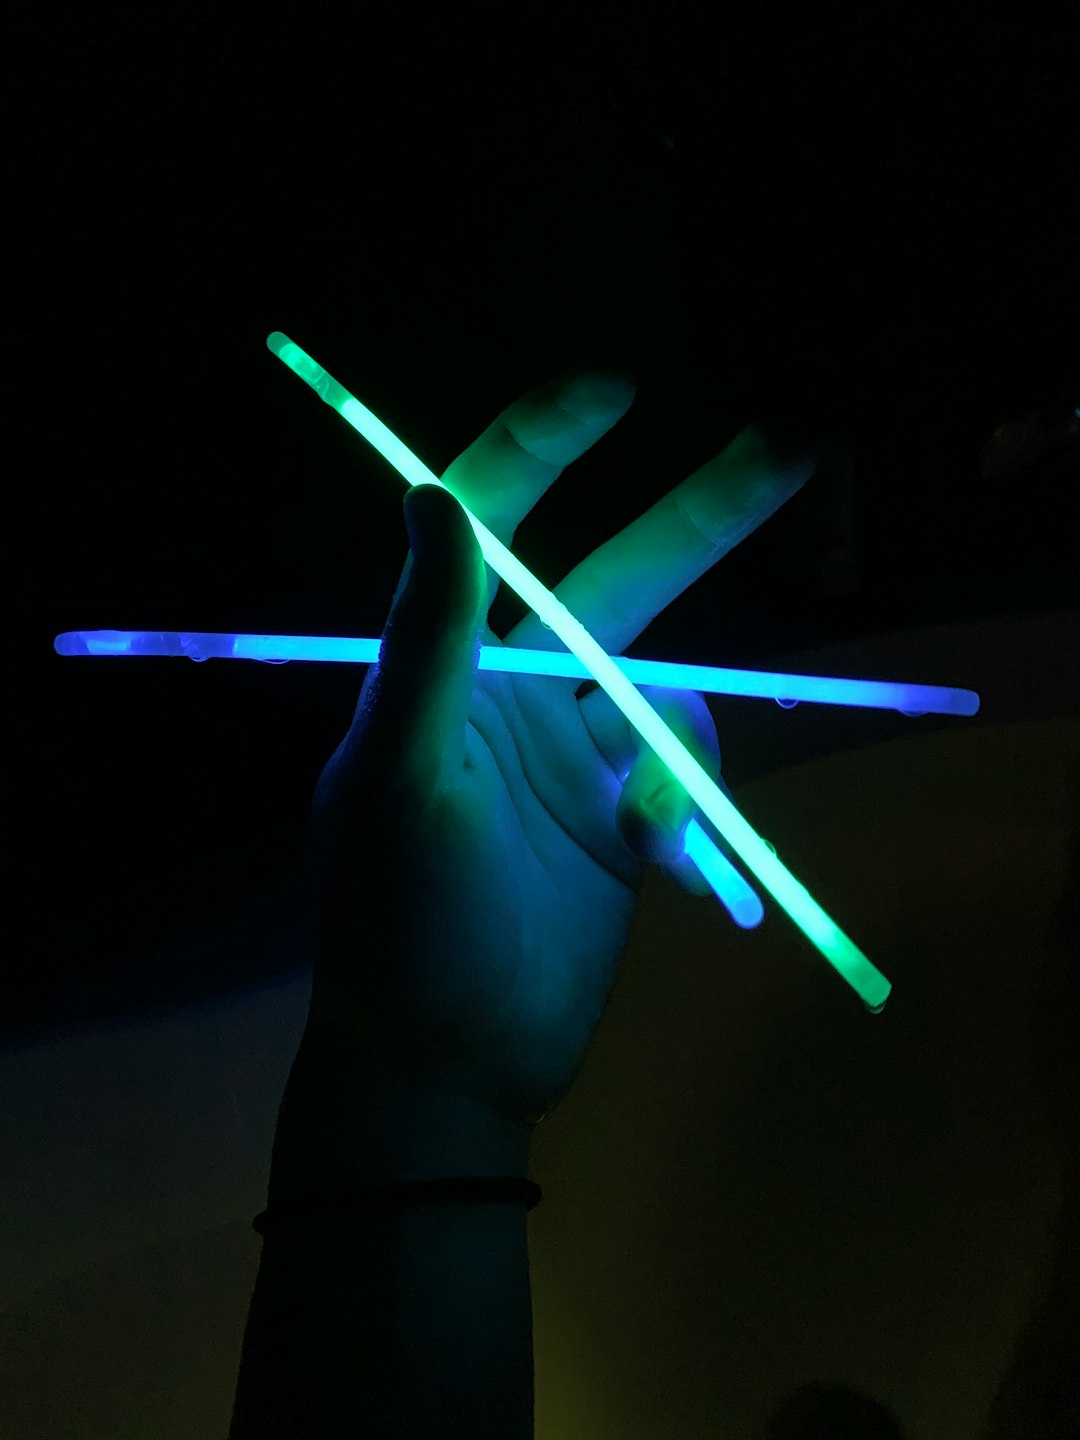
No rule states that candles are your only viable light source. Glow sticks work just as well at illuminating those designs and preventing fire hazards. Choose yellow for a more traditional look or opt for a ghastly green.
16. Load Up on Silica Gel
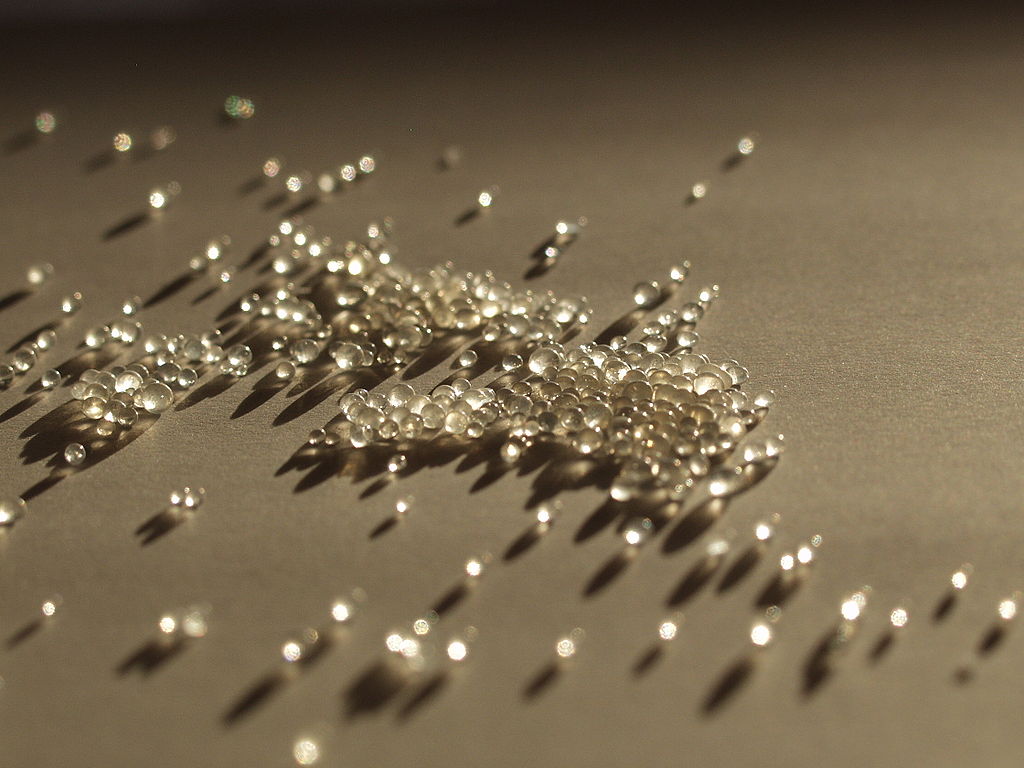
We usually toss those little packets in the trash, but keep some around this season! Believe it or not, silica gel fights off mold infestations. Just be sure they don’t come anywhere near an open flame.
17. Don’t Forget Vaseline
The last thing you want is for that beautiful design to wilt. A little Vaseline on cut edges protects your carving and prevents premature decay. That said, it’s a little harder to rub down intricate designs, so those may need a spritz of water and bleach.
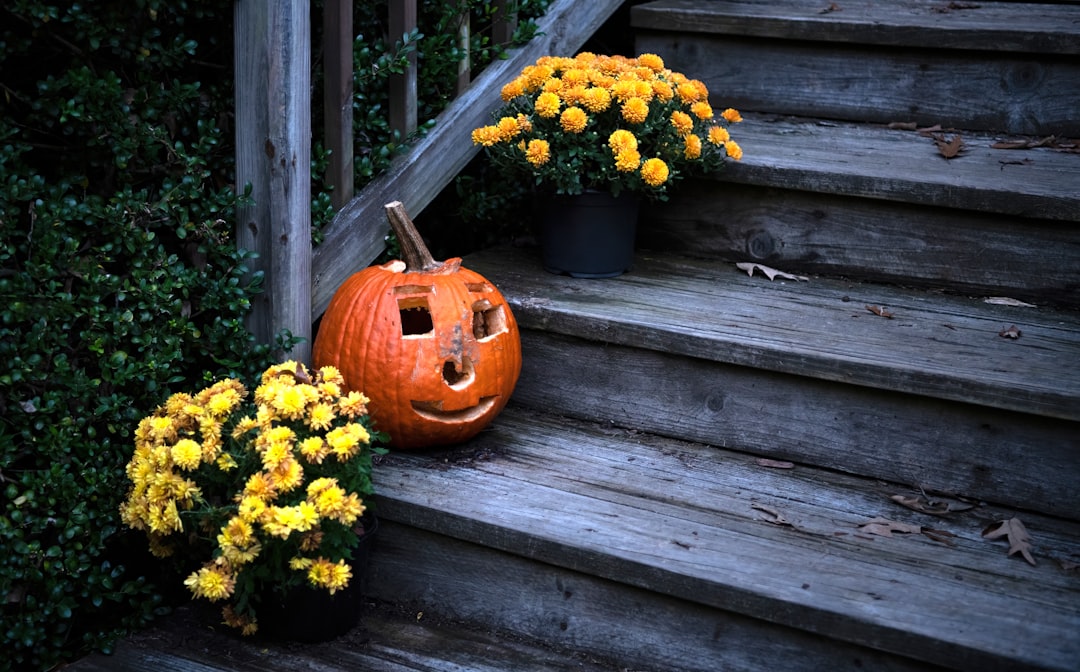 Robin Jonathan Deutsch on Unsplash
18. Try Fairy Lights
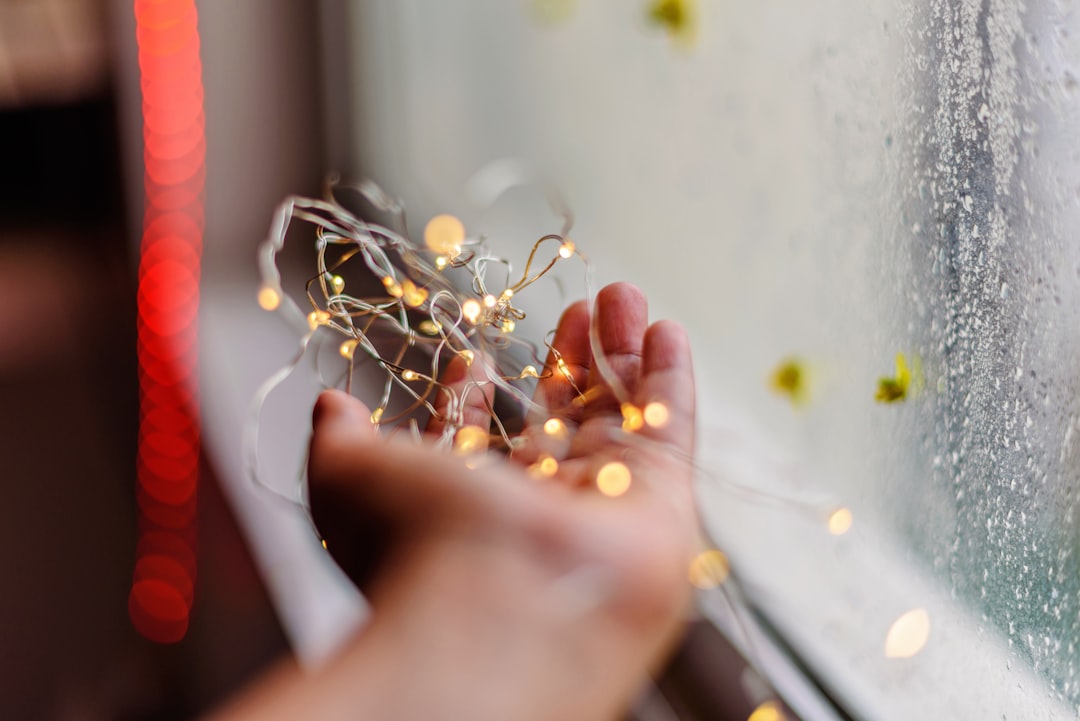
Have a spare string of lights at home? Stick ‘em in a mason jar and use that instead of candles! Now you don’t have to worry about handling lit flames or getting wax all over your pumpkin.
19. Place Pumpkins in the Shade
Carved or not, pumpkins need a proper spot out of the sun. The best post is usually beneath some kind of protection like an awning or porch. Too much sun or rain ruins a perfectly fine specimen.
20. Skip Carving Altogether
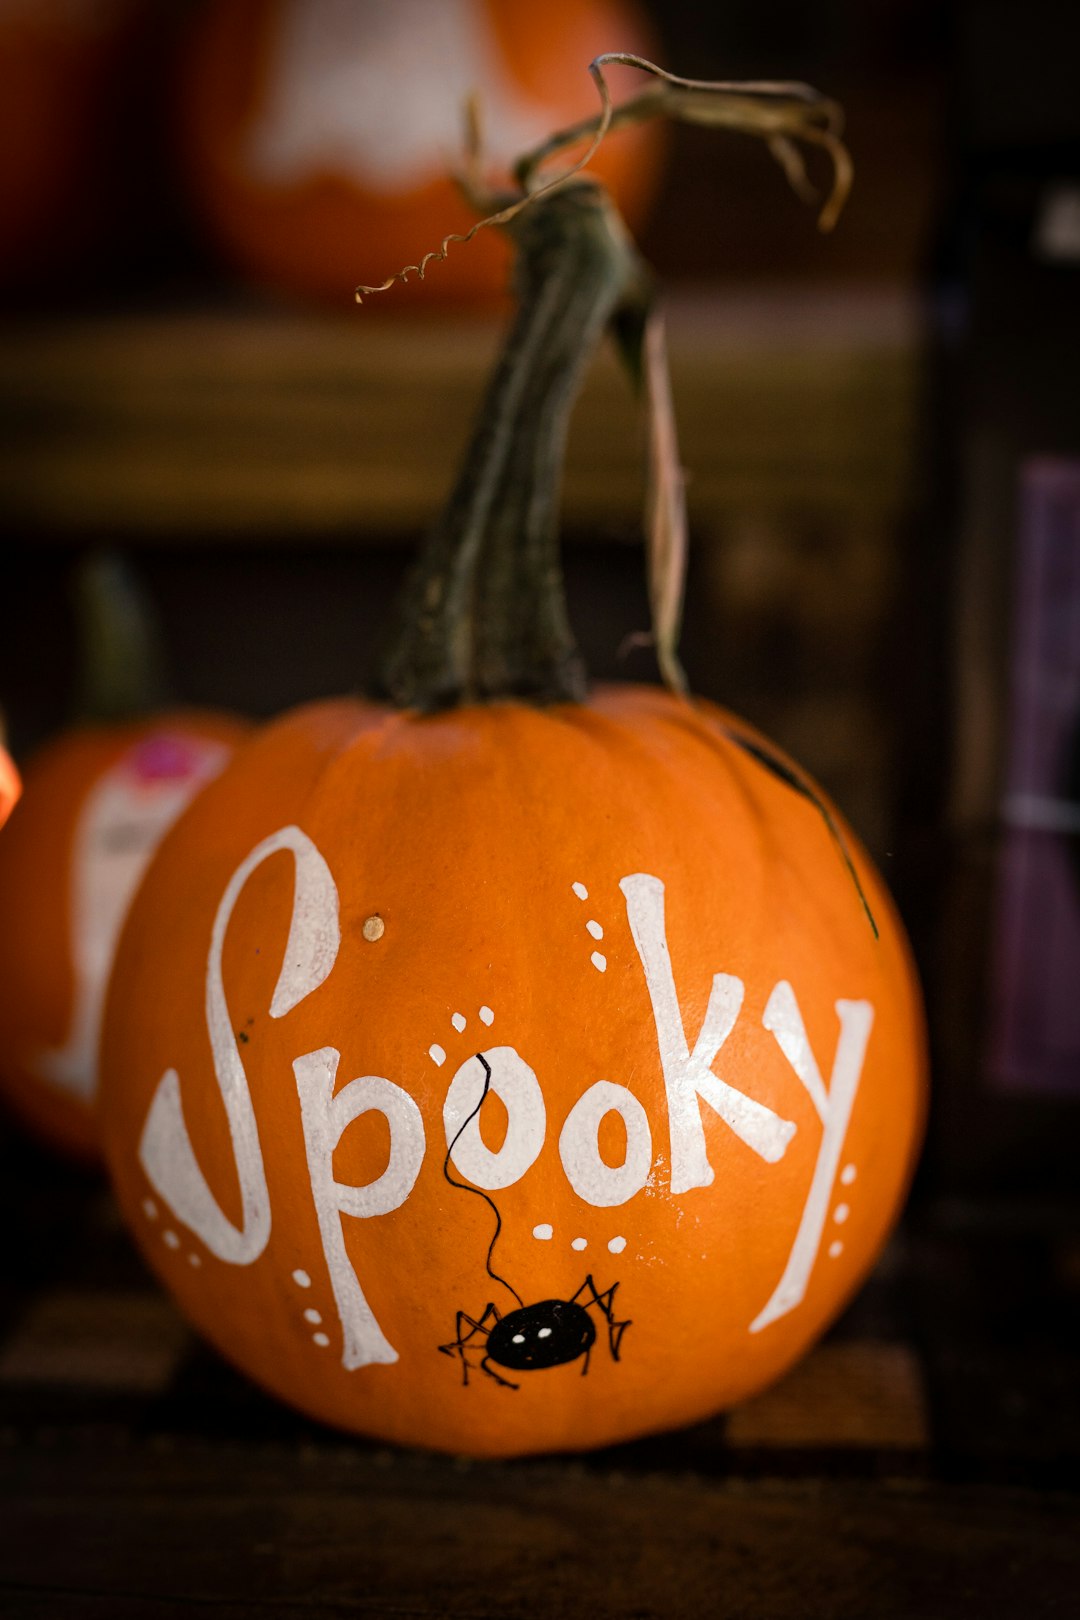
Though pumpkin carving’s a fun tradition, it’s not everyone’s cup of tea. You can choose all sorts of other decorative options like painting, etching, or even converting your gourd into a flower pot. Get creative this season!


